Choosing a mobile scanner for Android devices: Adobe Scan comrades or how to turn a smartphone into a scanner. Free Scanner for Smartphone - Where to Download and How to Use? Scanning documents with an Android phone
A smartphone is a multitasking device. Combination different ways its interaction with reality and the Internet at the same time makes it a kind of portal. Real things in it acquire a virtual essence, and in a second they are already somewhere in our cloud storage, delighting our friend or work colleague. Today I will tell you how your smartphone/tablet can replace a document scanner, which, unlike mobile device, not always at hand.
1. Method one - “it couldn’t be simpler”
The simplest method of work that does not require any special actions looks like this. We install the client application of one of the “cloud storages” (for example, or). Turn on the “Camera” mode and that’s it. This is what it looks like in Yandex.Disk.
Now, as soon as we bring any document to the eye of our camera, it will immediately appear first in the pictures folder on the mobile device. And in a second it can be seen in the “cloud” and on all devices that are connected to it.
When you enable the “Camera” or “Auto-upload photos” modes in cloud storage clients, do not forget to specify the “Only via Wi-Fi” option so that you don’t have problems later when analyzing mobile traffic costs!
As I have written more than once, in mobile applications developers pick up any interesting idea and develop it to a degree that was difficult for us to imagine at the beginning. Let's see what we managed to extract from the simple idea of using a mobile device as a scanner.
2. Mobile Doc Scanner Lite
Basically, work Mobile programs Doc Scanner Lite is not very different from the method described above. Only the work with the camera has been improved - it is optimized specifically for working with documents.

In such applications, the snapshot and scan process is separated. This allows you to eliminate problems with the camera. You can specify the area that you think contains the information. This will reduce the file size and eliminate artifacts such as bindings or fragments of other pages of the document that accidentally fell into the frame.
The application can work with cloud Google printer directly. It can also compress the resulting image into a zip archive.

Of course, no one will stop you from transferring the page to the recipient via email or cloud storage (“Transfer Page”).
The application also implements a batch scanning mode, which will be convenient if you want to scan several pages of the same size at once. For example, a book or other multi-page document.

“Spy” mode will reduce the time it takes to photograph a document. In this case, the scanning will be done later, for example, in the quiet environment of your office or home.
3. CamScanner
The CamScanner application is suitable for those who have a lot of document scans. Especially for such users, this program will offer intelligent automatic detection page boundaries and will even correct perspective distortions that inevitably arise, for example, when scanning book sheets. The program also allows you to organize all scans into groups to speed up the search for what you need.
A smartphone is an ideal device for scanning documents: it is always at hand, there is a camera and tools for further work with the received file - for example, to send via e-mail. But for all this to work, you need one more important element - a scanning application.


A popular document scanning application on Android that is different big amount tools for working with files. To get started, registration is required, which allows you to configure synchronization. When creating scans, single and batch shooting is supported. For convenience, the camera interface has a grid, as well as presets of popular formats: documents, ID, book pages, greeting card etc.
The application perfectly determines the boundaries of a document - CamScanner coped with this task better than other participants in our selection. After taking a photo, you can adjust the borders manually or rotate the image 90 degrees. Then the application independently crops the image according to the specified boundaries and improves it appearance. If the result is not satisfactory, you can adjust the display manually - adjust the brightness, contrast and detail. The editor also has a text recognition function, but normally it only works with the Latin alphabet.
The processed document is saved in PDF format. In this case, the original photo does not disappear anywhere and remains available in the device’s library. You can return to it at any time and make additional changes. CamScanner supports uploading documents to cloud storage, sending for printing and faxing. After registration, you have access to 200 MB of software on the cloud, which can be expanded by inviting friends to install the application.
IN free version Only basic functions are available to the program. A huge minus is adding a footer to the document with the application signature. In addition, banners periodically appear in the interface. The premium version costs 212 rubles per month and adds convenient features: editing recognized text, +10 GB of storage, uploading files to third-party clouds, removing restrictions on PDF downloads.


"Turboscan" adds standard multi-page scanner functionality to your phone. main feature applications - SureScan 3x mode. When you turn it on, the camera photographs the document 3 times, improving clarity. The developers recommend using this mode in low light. In the free version of the application, scanning of only 3 documents is available. To remove the restriction, you must purchase the premium version of the application. Price - 199 rubles.
"Turboscan" poorly determines the boundaries of a document when photographing, so you have to constantly correct them. For manual settings The magnifying glass mode is used, which allows you to very accurately position the marks. The editor has a choice of processing mode and color scheme. Fine settings no - only presets. You can also rotate the image 90 degrees and a button to add other pages.
After saving, you can return to editing the document to change its name and size, and add a date. Changing the size allows you to place several scans on one page - for example, it is convenient to create a document with receipts or business cards. The resulting file can be sent as PDF and JPEG, saved to the phone gallery, printed or uploaded to the cloud - Dropbox and Google Drive are available by default.
In the Turboscan settings, automatic backup and document recovery - for this you need to log in through Google account. Can also be customized automatic download scans to the cloud. A convenient function is “Send to yourself”. It allows you to specify the email address, attachment type, subject and text. This is useful if you constantly send scans to one email.
Summing up
Scanning applications offer all the necessary tools for working with documents. When shooting, page boundaries are automatically detected, there is batch processing, which allows you to scan a large amount of information very quickly. Some programs also support text recognition, but they are not friendly with Cyrillic. If you know applications that cope with this task, tell us about them in the comments.Do you urgently need to scan a document, but don’t have a scanner at hand? Now everything is simple! Use the Android app to help you create electronic copies documents, archive and structure them, and send them by email. CamScanner is an ideal multi-document management software that is suitable for use at home, office, school, and other institutions.
Working with the CamScanner application
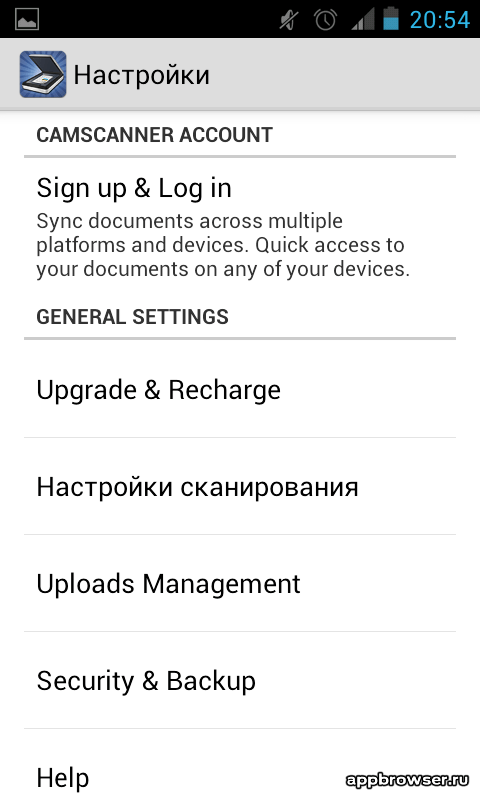
The working window is represented by two zones. The main area is reserved for starting a new scan. On the side there is a panel with the names of the tags to which this or that scanned document can be attributed. The last item in the sidebar is the tag customizer, where you can remove a tag that you do not need, thereby customizing the application as much as possible.
In the upper right corner there are search icons and additional settings. The settings menu is rich in all kinds of functions. Here you can configure the scanning itself, set automatic processing of the resulting scan, and specify the path to save the document. Settings also include the ability to synchronize with other devices, as well as the cloud, where you can store scanned documents. All images are saved in JPG or PDF format.

How to scan?
On the main working area, press the “Capture” button with the camera icon. Next, you have two choices: either take a photo of the document and then process it, or open an existing document from the gallery and process it. If you nevertheless decide to photograph a document or any part of it, simply point the camera at the object you are interested in and take a photograph. The program itself will determine the recommended boundaries, which you can agree with, or set your own. 
CamScanner will crop the photo, which can be adjusted using the settings button. After saving, the document is displayed in the main work area of the application. 
When scanning, you can select Batch Mode to take photos of multiple documents that are saved automatically, with the ability to edit them later. In this case, a document consisting of several pages is created.
All scanned documents can be renamed, assigned to a group, assigned a tag, and a shortcut added to the desktop of your smartphone. The document can be printed, sent by fax, and also added to cloud drives on which the documents will be stored unlimited amount time. 
Conclusion
Thus, this program for Android is indispensable when working with documents, which will undoubtedly be appreciated by students, schoolchildren, and people whose professional activities involve conducting negotiations and drawing up protocols. Now the mini scanner is always with you!
We have already touched on the topic of mobile scanners for Android, but then the choice good apps was meager, and there were even fewer people worthy of attention. But today everything has changed - Google Play able to offer interesting programs. What is it about them, these scanners?
advertising
Previously, to be honest, it was just pampering, but now it’s not only text recognition, but also graphics editor coupled with a PDF converter. You can scan and organize everything that comes under your camera lens: save receipts, copy lectures, and even do it on the go Business Cards, and catalog hand notes. Moreover, you don’t have to be the owner of a smartphone with top-end optics; the program itself will figure out the quality and produce the desired result.Let's start by introducing the new test subjects. The great and terrible will go first Adobe Scan, who waited until faceless projects made a mess but never became popular, and proudly took the stage, saying that this is who you should look up to.
It was ignored only by Tiny Scanner, which has survived to this day without losing its useful qualities. We will find out how it has changed two years since the last review, in which it remained in the lead. And the review will end with CamScanner, which offers some kind of intelligent control, although most likely it’s just built-in file manager. However, who knows...
The test equipment used was:
- Tablet DEXP Ursus 8EV2 3G (Android 4.4.2, MT8382 processor, 4 x Cortex-A7 1.3 GHz, Mali-400 MP2 video core, 1 GB RAM, 4000 mAh battery, 3G module, Wi-Fi 802.11b/g/n );
- Smartphone Homtom HT3 Pro (Android 5.1 Lollipop, MT6735P processor, 4 x Cortex-A53 1.0 GHz, 64-bit, Mali-T720 video core, 2 GB RAM, 3,000 mAh battery, 4G module, Wi-Fi 802.11b/g/ n).
advertising
Adobe Scan Review

At one time we already talked about Adobe products (Illustrator Draw, Fill & Sign DC and Photoshop Express), the time has come for Adobe Scan, the main advantages of which are:
- Free optical character recognition (OCR) engine built into the application;
- Document Cloud – a proprietary cloud for storing documents and accessing them from anywhere;
- Converter of scans to Word format;
- Built-in image editor.
You can consider that all the advantages have been revealed, and the review itself can be completed. But no, there are pitfalls and bugs up your sleeve. The rating of 4.1 is not out of the blue. Perhaps only support for Android 5.0 or higher is to blame for this, as well as for the small number of downloads? I won't get ahead of myself and will start in order.
“Scanning” documents and photos on your phone is a useful feature. Fortunately, there is very simple ways scanning documents.
Of course, a dedicated scanner will still be better if you often need to scan a large number of documents, but using your phone as a scanner will also work if you only need to scan a few documents. Here's what we recommend for Android.
Best Way to Scan Documents on Android: Google Drive
If you are using an Android device, then The best way Document Scanner is a Google Drive application that is installed on almost every Android device.
You can scan documents directly from Google Drive a by clicking the “+” button in the lower right corner of the main screen.
From the pop-up menu, select Scan.

He may ask for permission to access the phone's camera. Click Allow.

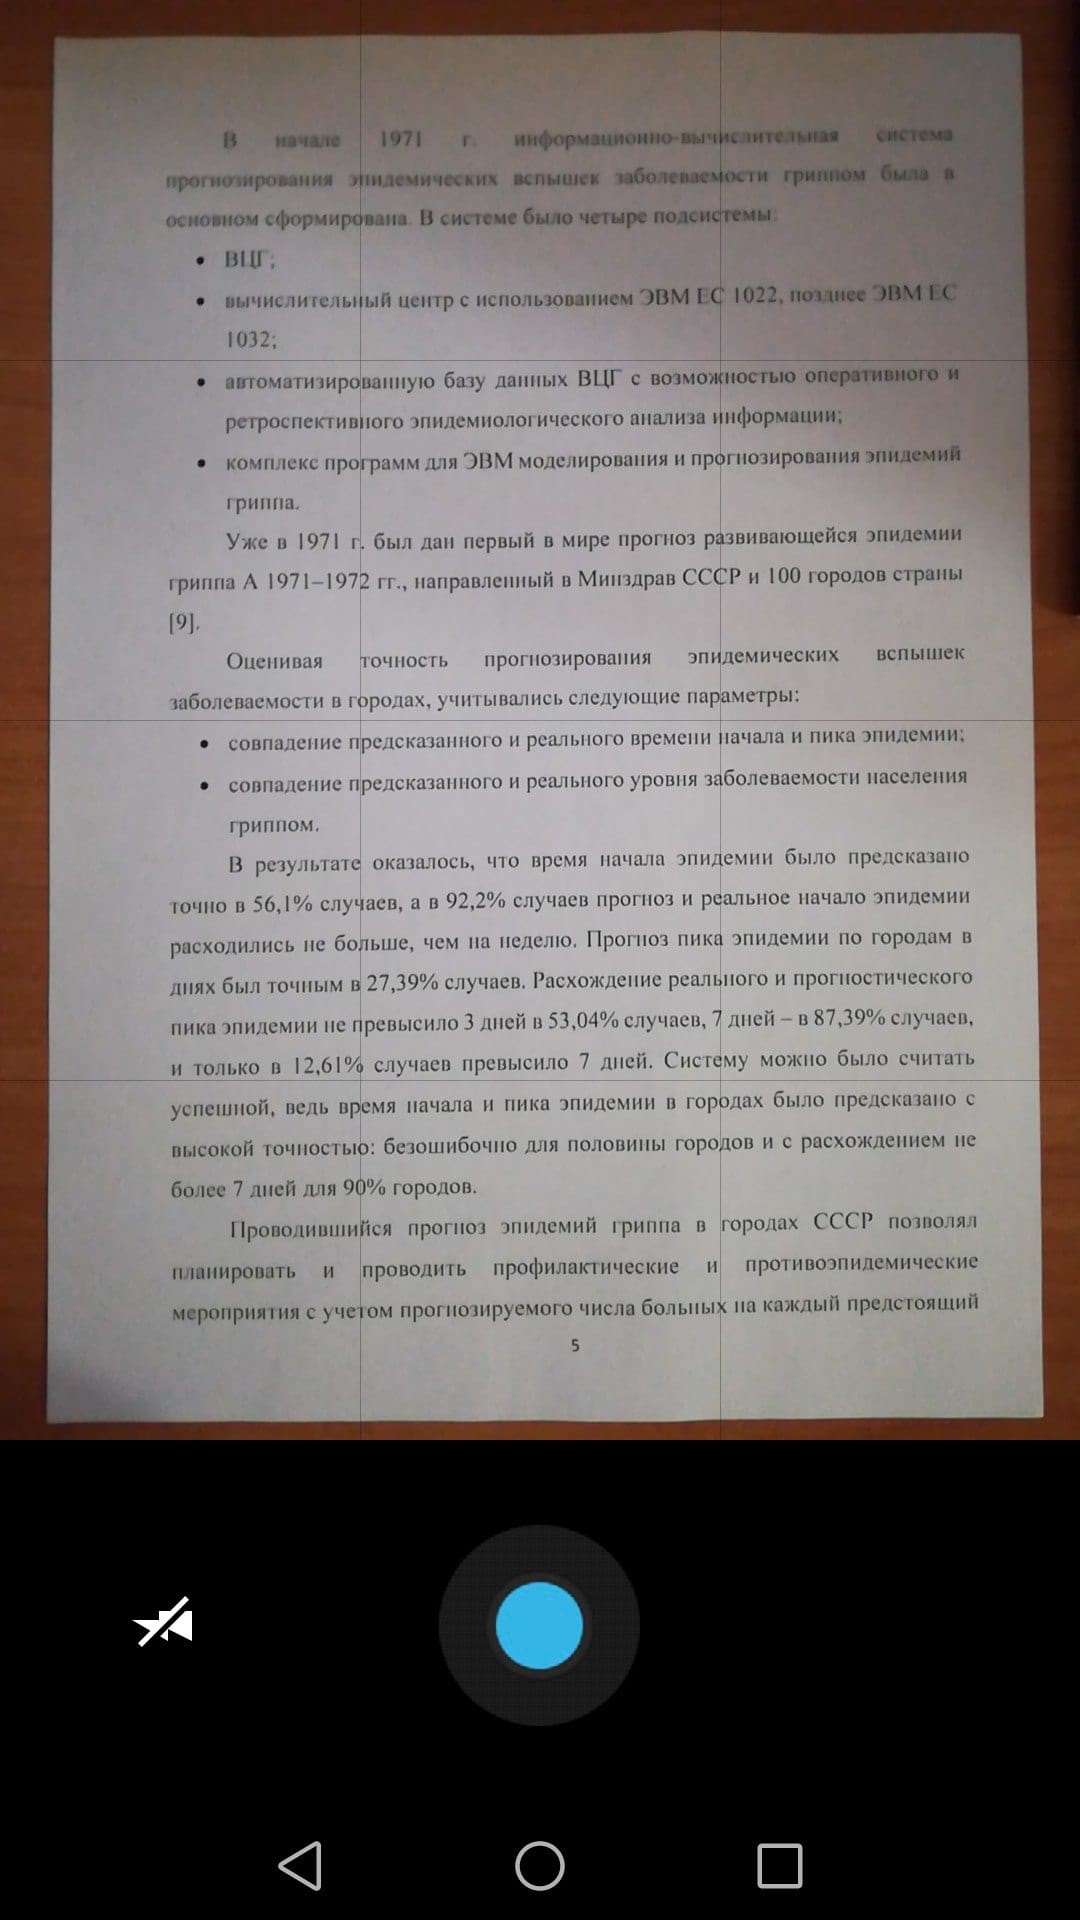
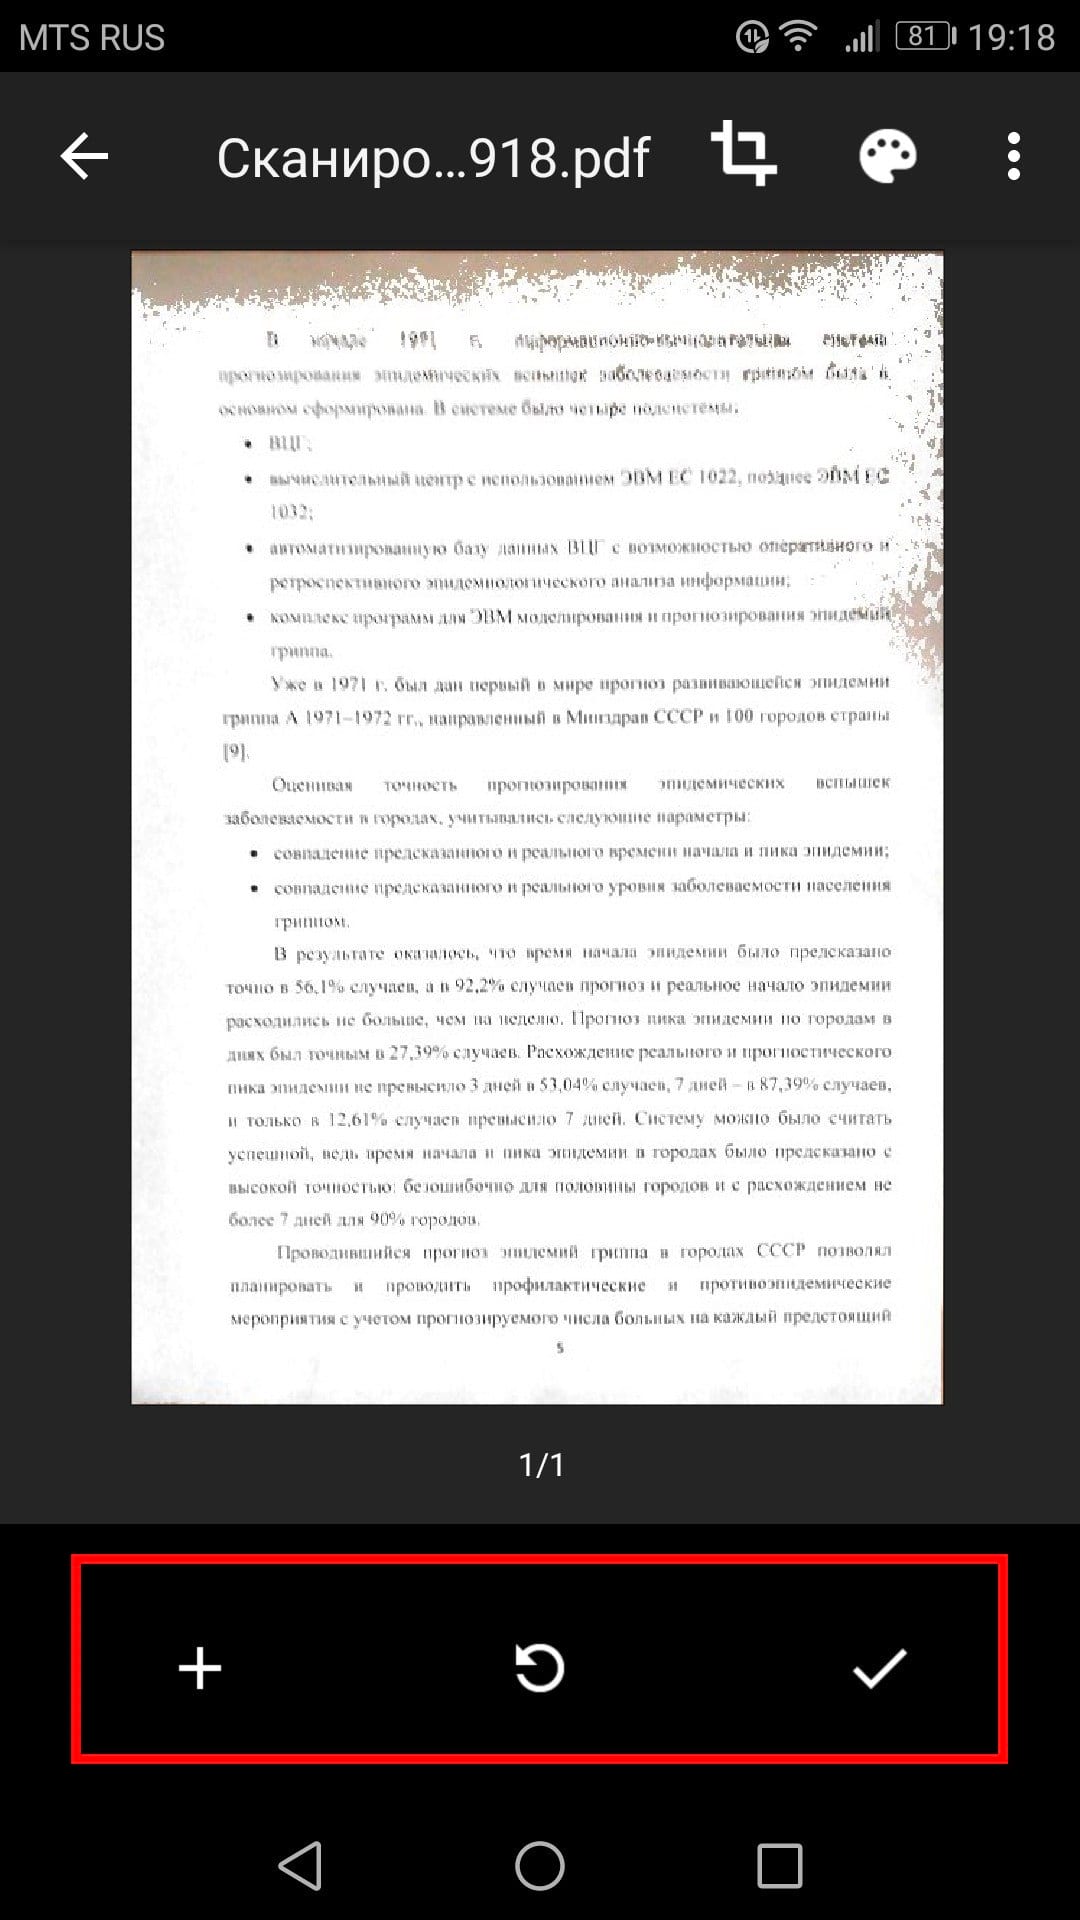
When you are ready to scan a document, position the document so that it takes up as much of the screen as possible and press the blue button. You can also use the flash by tapping the flash icon next to the capture button if your device has a flash installed. If your device does not have a flash, this option will not appear.
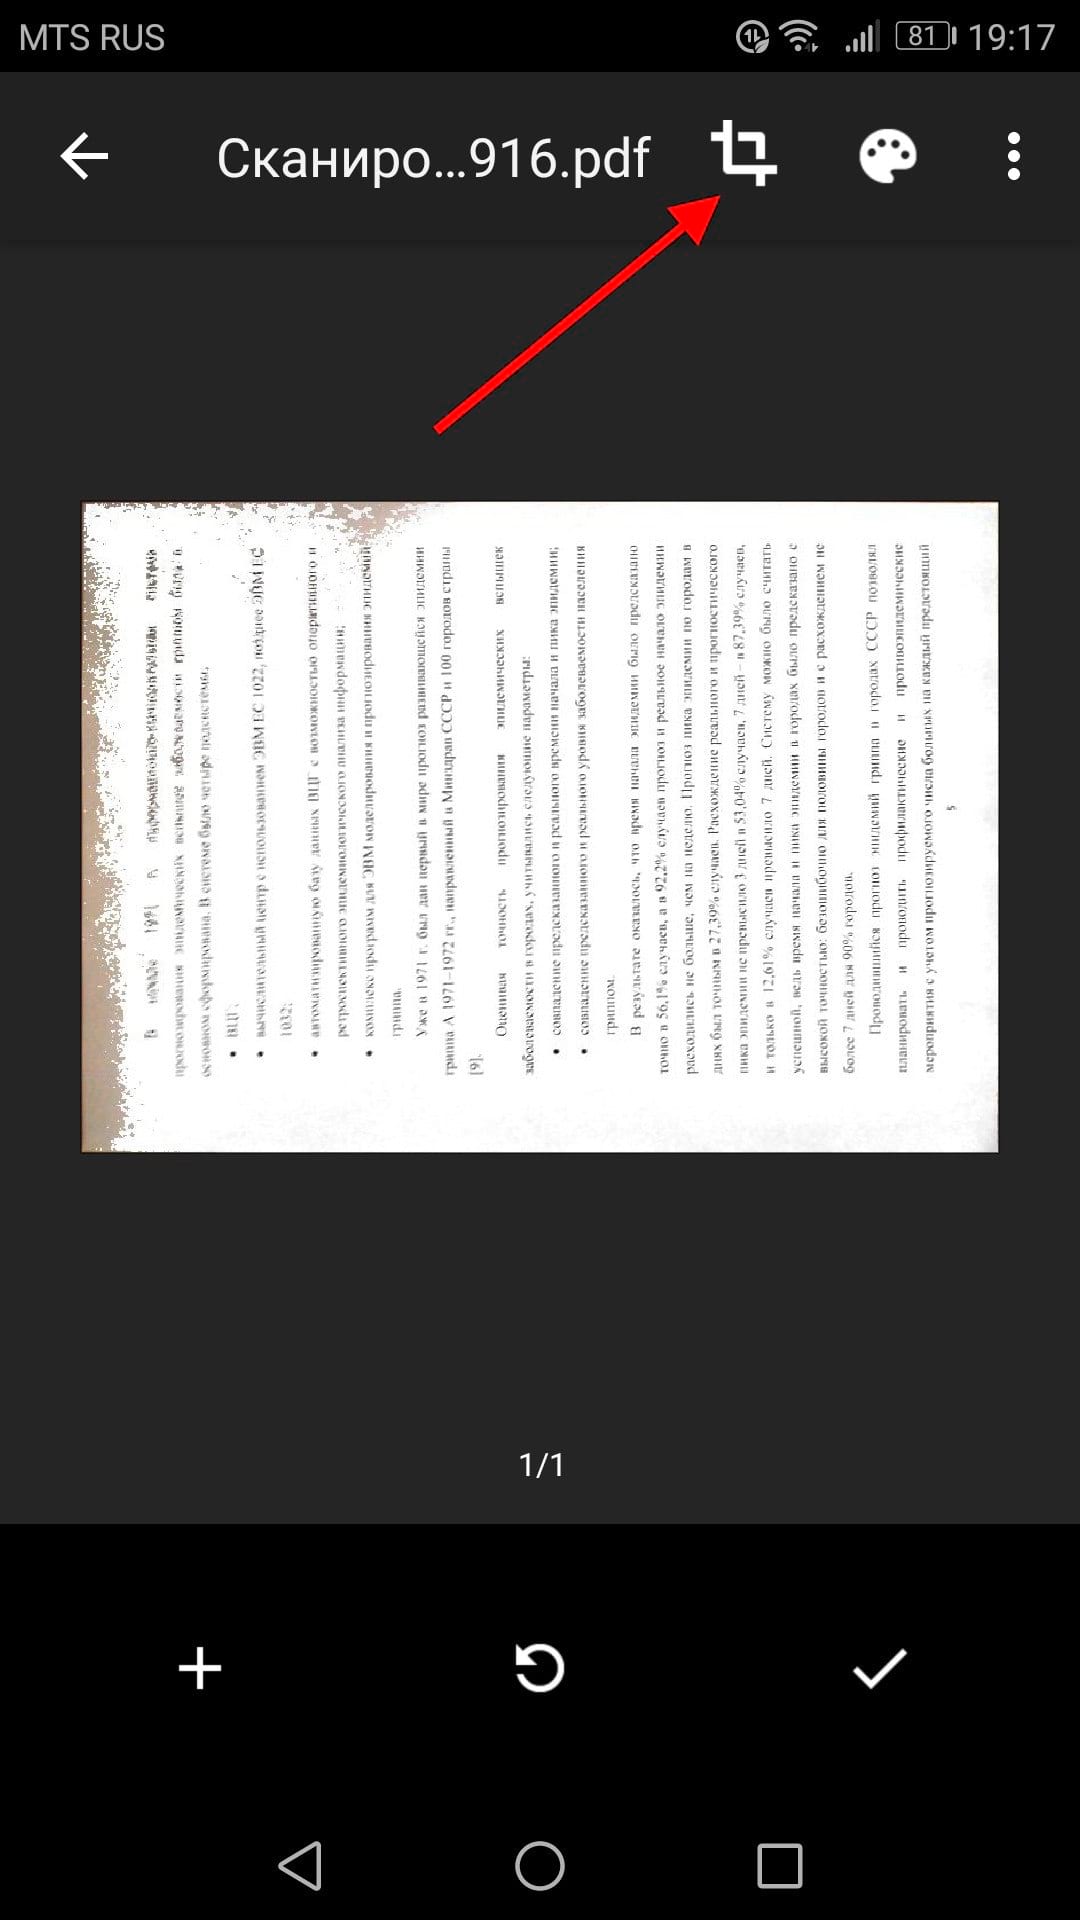
After scanning the document, the preview. Don't worry if most of the document is cut off when you view it. Click on the corresponding icon to select the area you want to save.
Touch, hold and drag the dots to change the area that is scanned.
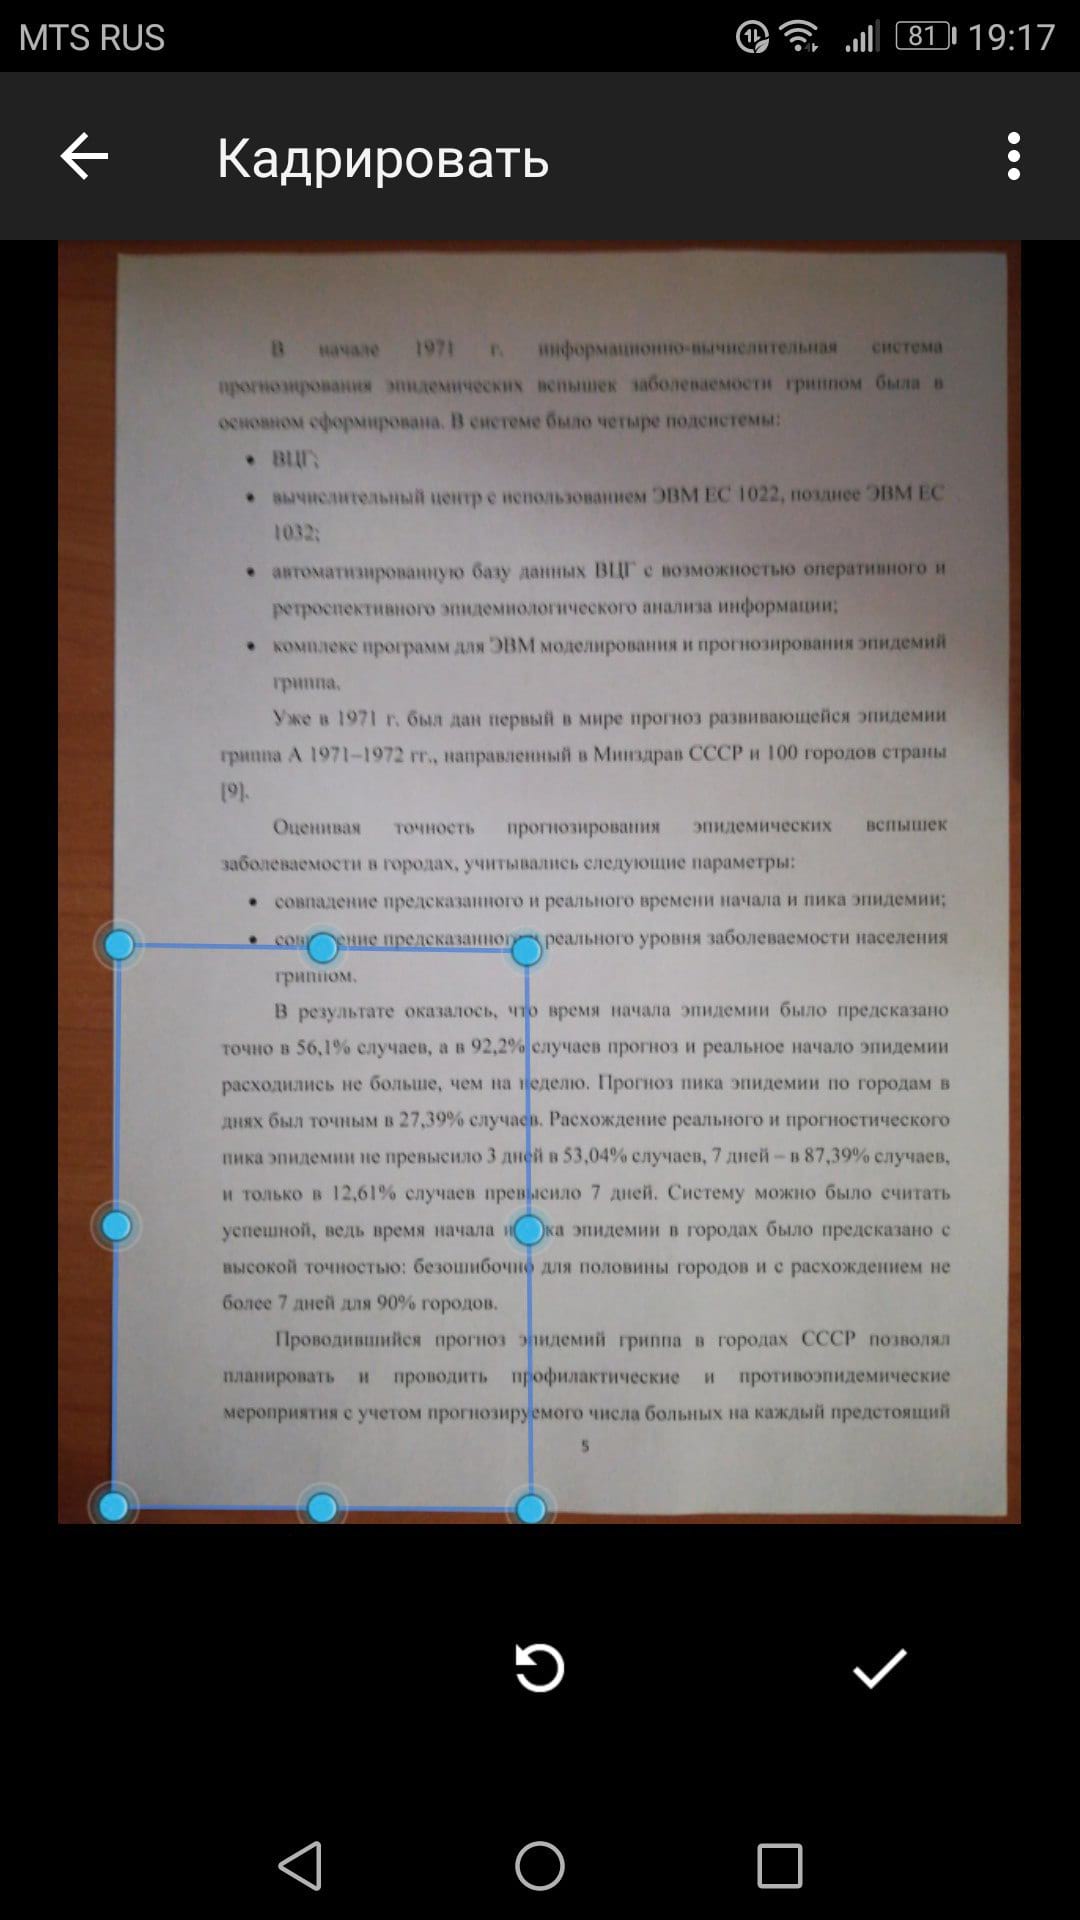
When finished, click on the checkmark in the lower right corner of the screen.

You have three options immediately after scanning:
- Click the plus sign to add more pages to your document.
- To scan again, tap the circular arrow in the middle.
- Click the check mark icon to complete and upload the document to Google Drive.
You can also make minor adjustments after scanning. For example, clicking on the palette in the right top corner will allow you to change the scan color selection and bring it to a certain type document. By default, the scanner automatically selects the one it thinks is best.

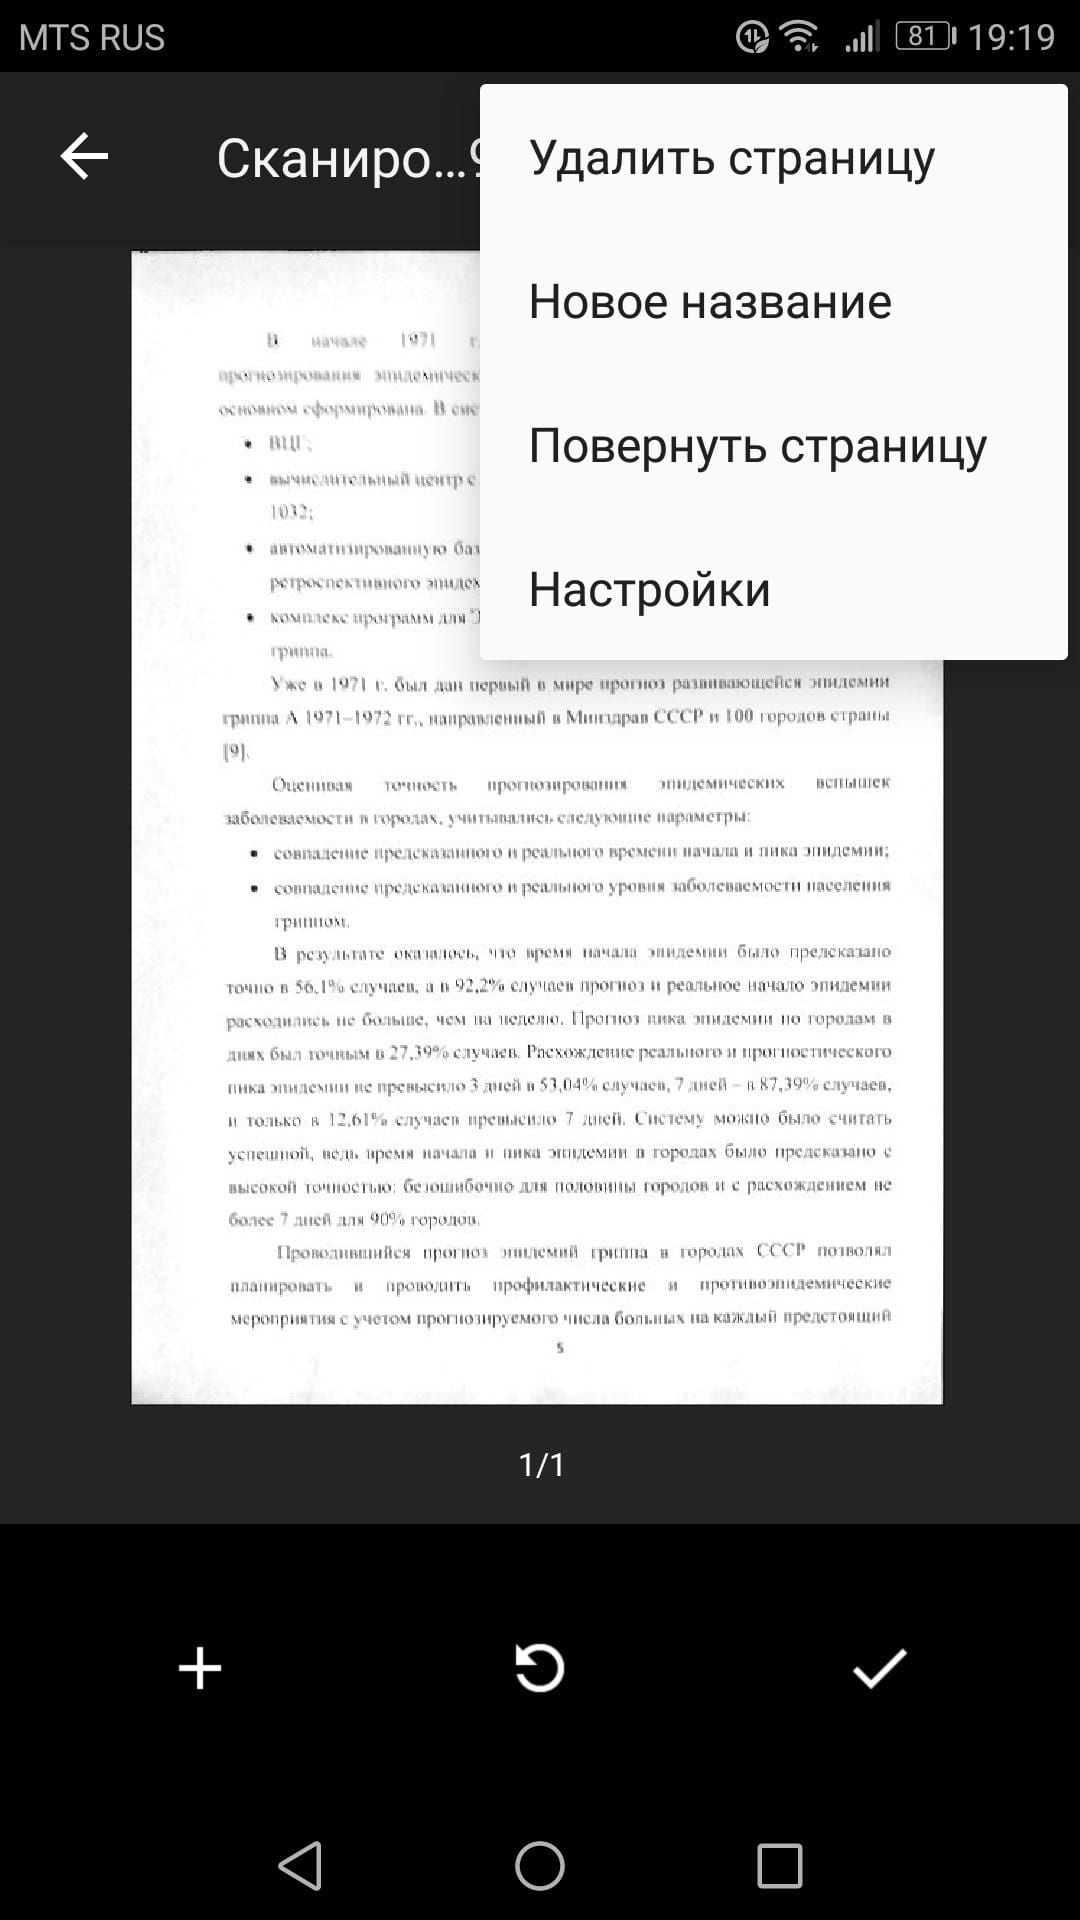
Finally, the three dots in the top right corner will allow you to delete, rename, and rotate the scanned document if necessary.
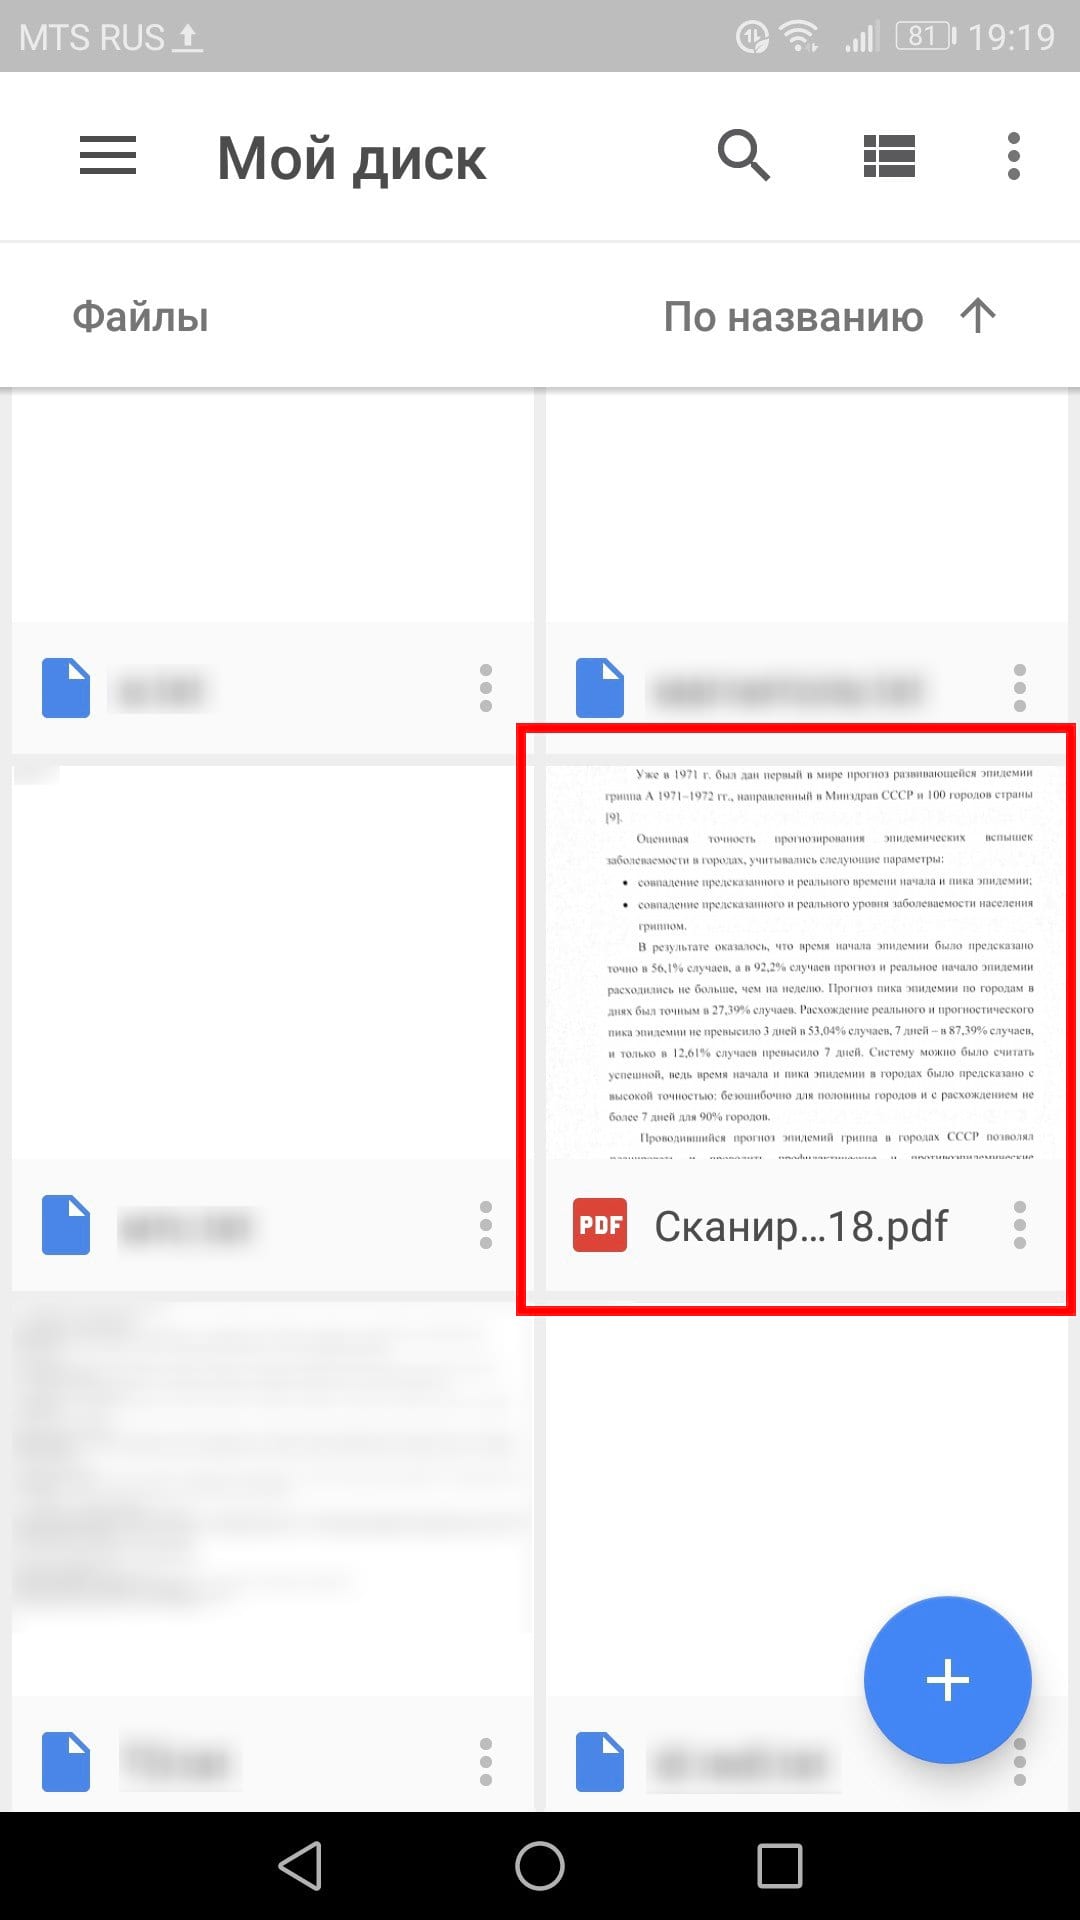
Scanned documents are added to Google Drive in PDF format, and names are added along with the word "Scanned" followed by the date and time. You can move, rename or delete any of the scanned documents by clicking the three dots next to the file name.

You will then convert this scanned PDF into a document, which you can then edit or export to Microsoft Word.


